Siphon Brewer - The Mad Scientists Coffee Maker

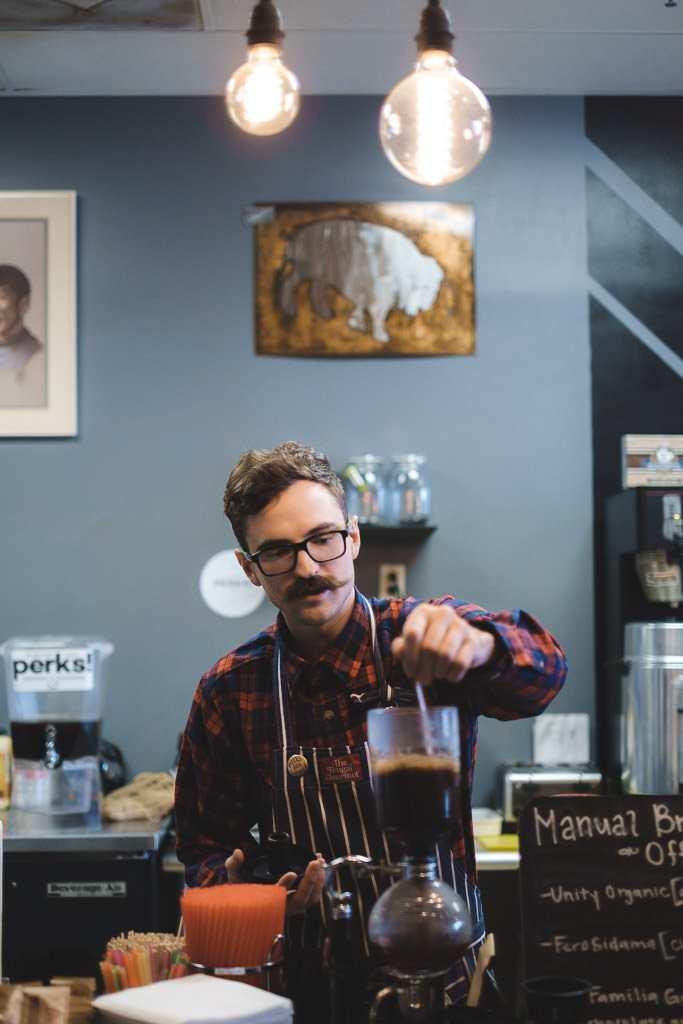
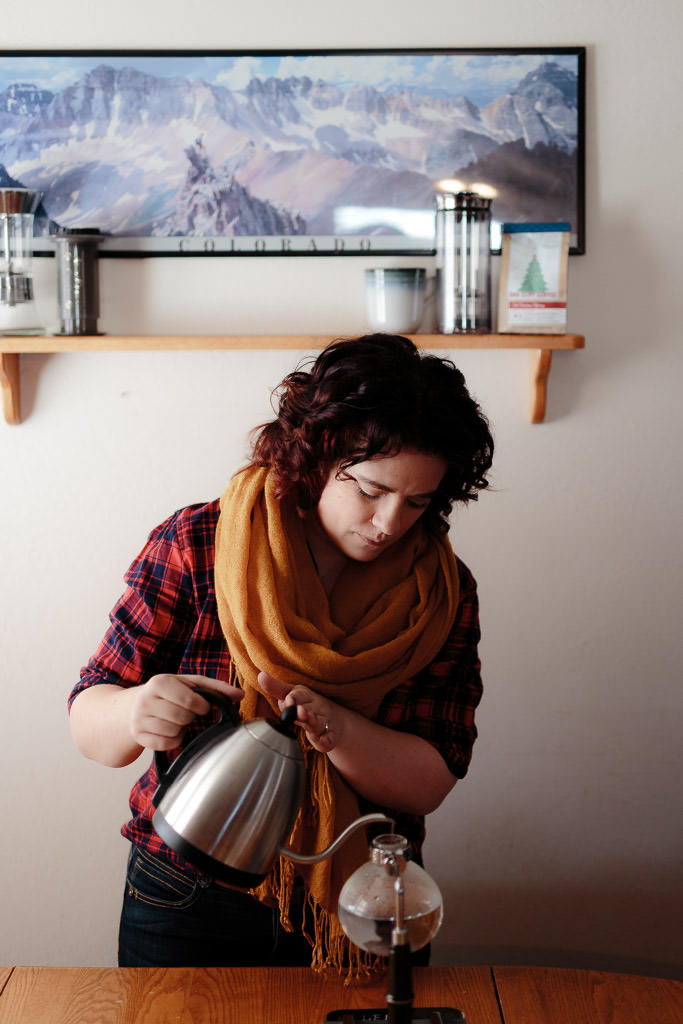
A little over two years ago, a really good friend of mine came to town after spending a year teaching English in Taiwan. We decided to go out on a rainy day for a bike ride across town and ended up at a local coffee shop to chill and chat. He had never had a chance to experience the visual intrigue of the siphon coffee brewer, so we ordered one. Up to this point in my life, I had only really had lack luster experiences with the siphon. Sure it was pretty to watch, but I didn’t really care for the coffee it brewed. However, this Christmas, while spending time with my family, I got to play around with brewing one myself. Needless to say, I walked away quite impressed with the scientific looking device.

Physics Behind the Siphon Brewer
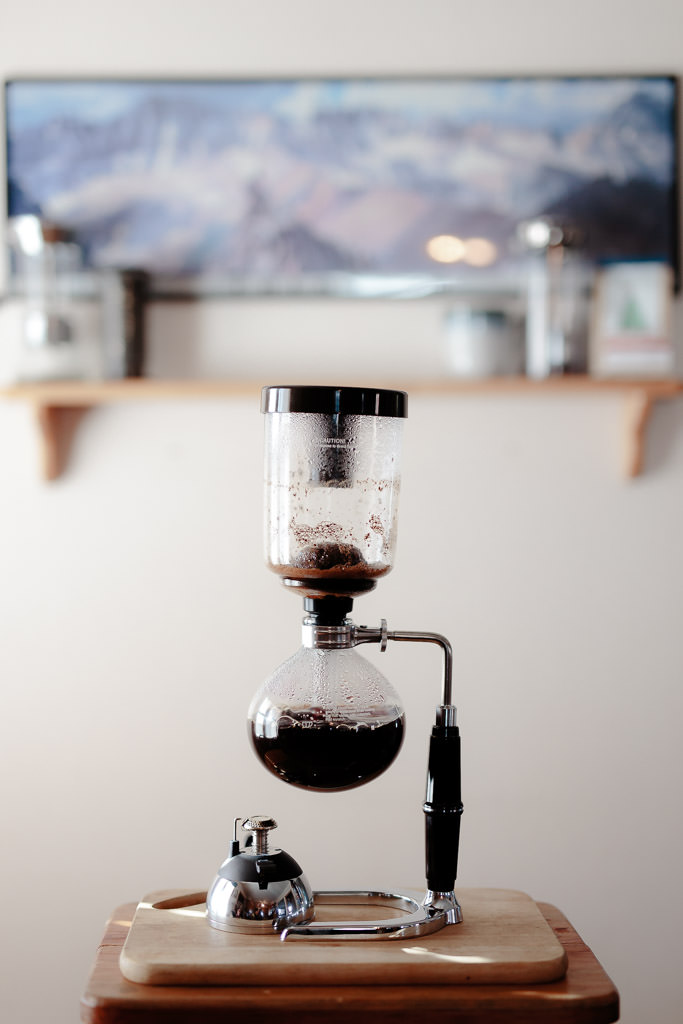
Originating from Germany in the 1830s, this brew method looks like something straight out of a mad scientists lab. With it’s bulb-like vessels, bunsen burner, and gravity defying theatrics, it may be the most visually impressive brew method. Let’s jump into the science that makes the siphon brewer work.
Building Pressure
The siphon brewer gets its name from its use of a siphon, a broad term for a device that involves the flow of liquids through tubes, between the two vessels. As the water in the sealed lower vessel heats up, the vapor increases as it evaporates. The pressure builds until the lower vessel exceeds the atmospheric pressure in the upper, unsealed vessel. At this point the vapor pressure pushes the water through the siphon into the upper vessel. We add the ground coffee to the upper chamber while the heat holds the column of water in place allowing for a gentle, full immersion extraction.
Removing the Heat
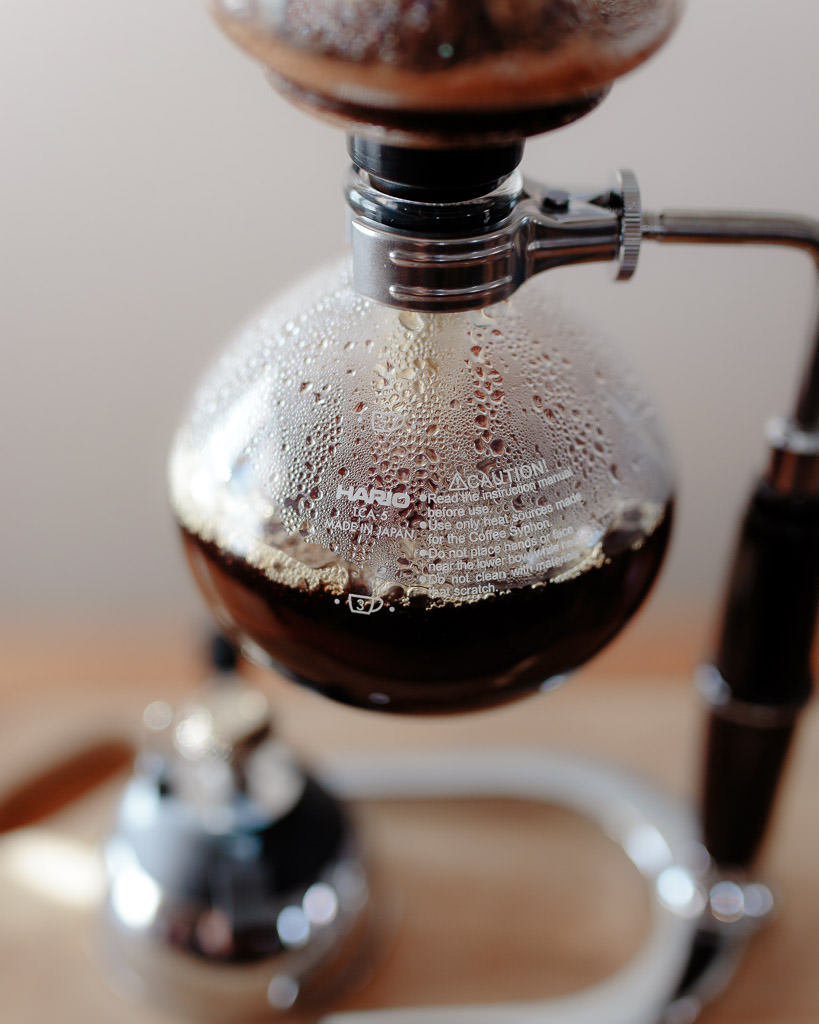
As temperatures in the lower vessel drop, the vapor condenses into water, reducing the pressure. When the upper pressure again exceeds the pressure of the lower vessel, gravity and pressure push the water back down. A filter sits between the upper vessel and the siphon, catching the grounds when the liquid returns to the lower vessel. The whole process leaves us with a gently brewed, clean, tea-like cup of coffee.
Brewing with the Siphon Brewer
At a Glance
- Ratio - 1:16 coffee to water (25g:400g)
- Grind on Medium Fine, 3.5 on the Handground
- Steep for 1:30 then remove heat
Full Method
Prep
- Begin by soaking the cloth filter in warm water for 3-5 minutes
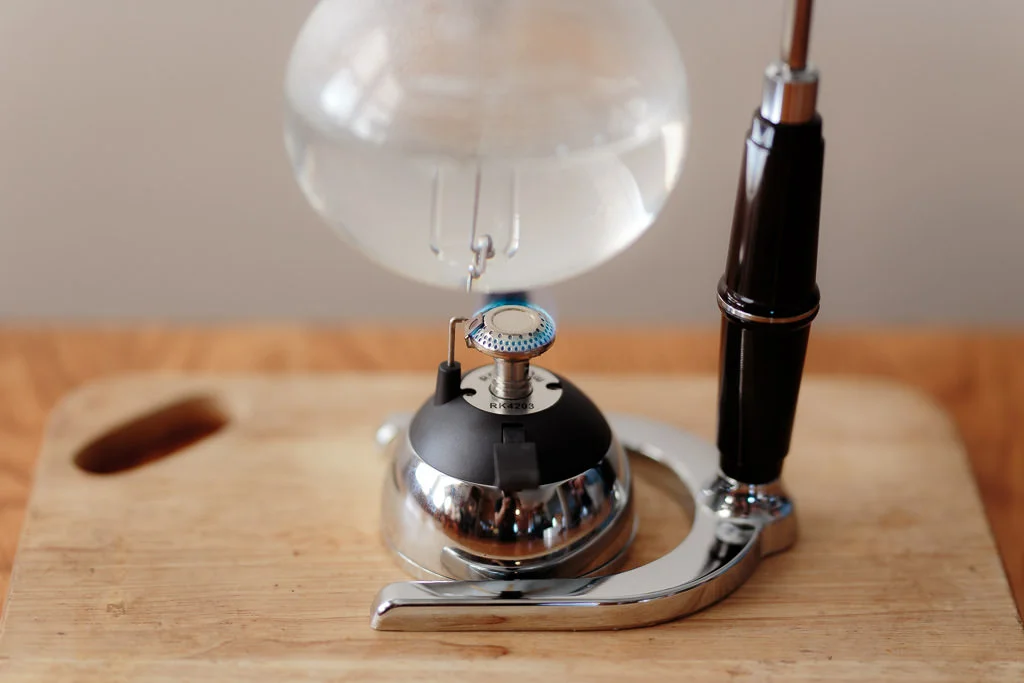
- Heat your water to accelerate the boiling process
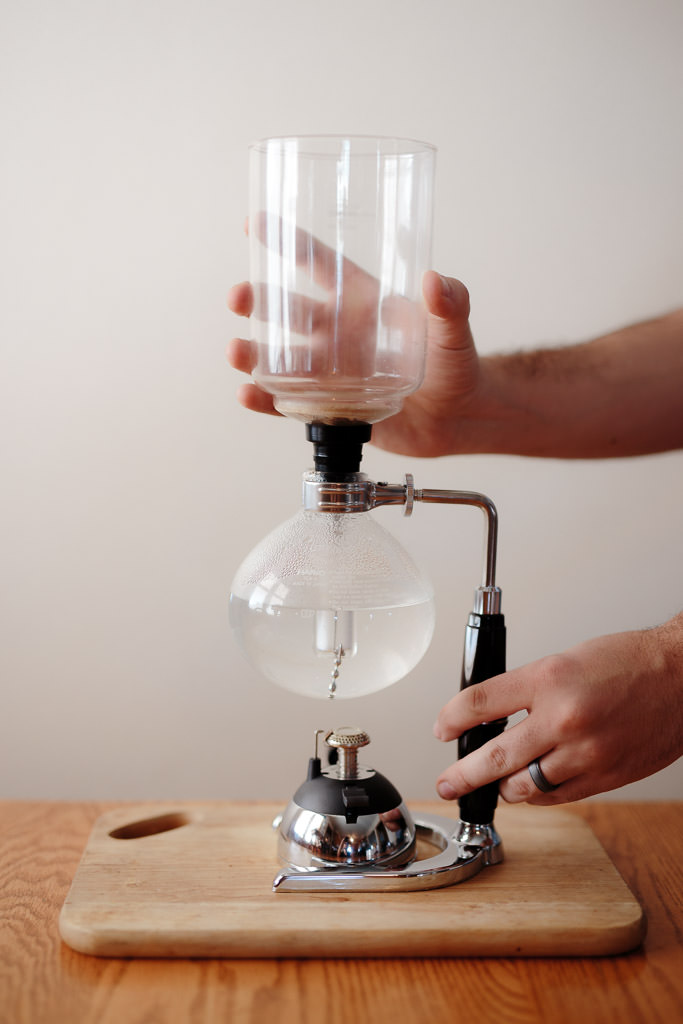
- Weigh your water into the lower vessel
- Make sure the outside of the vessel is dry before applying heat to keep it from cracking
- Weigh out your coffee beans
- Grind on a medium fine setting
- Do not add the coffee to the top vessel yet
- Attach the filter to the upper vessel then place insert it into the bottom vessel, leave the lid off
- I didn't learn about leaving the lid off until after I took this photo set.
- Apply heat to the bottom vessel

Brew
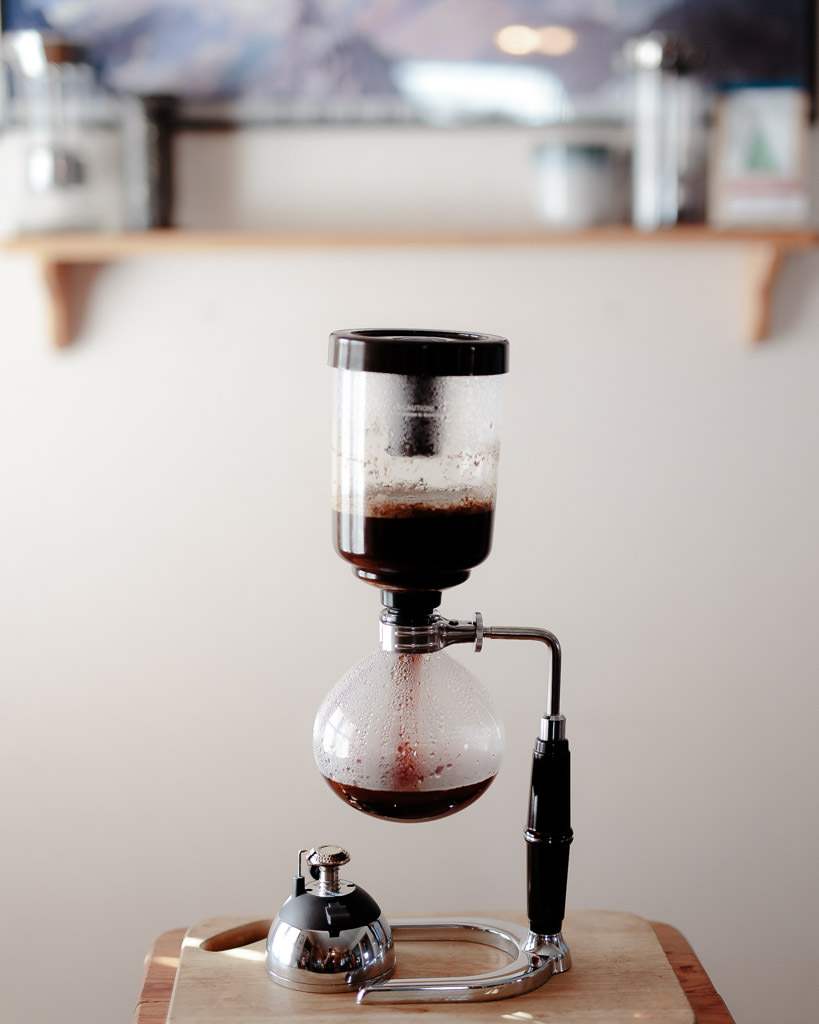
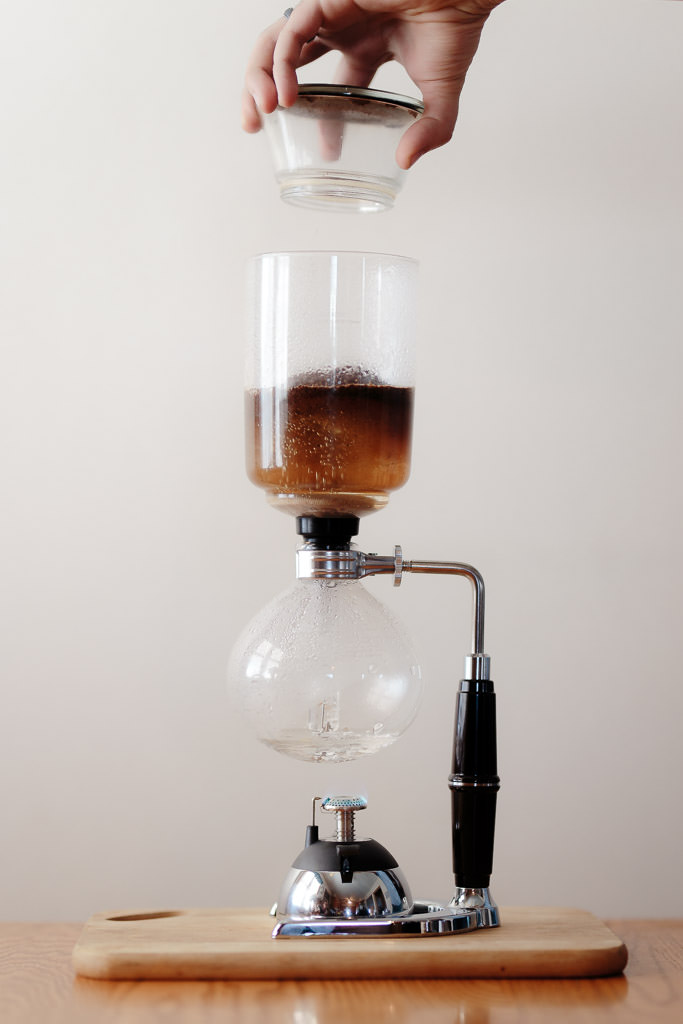
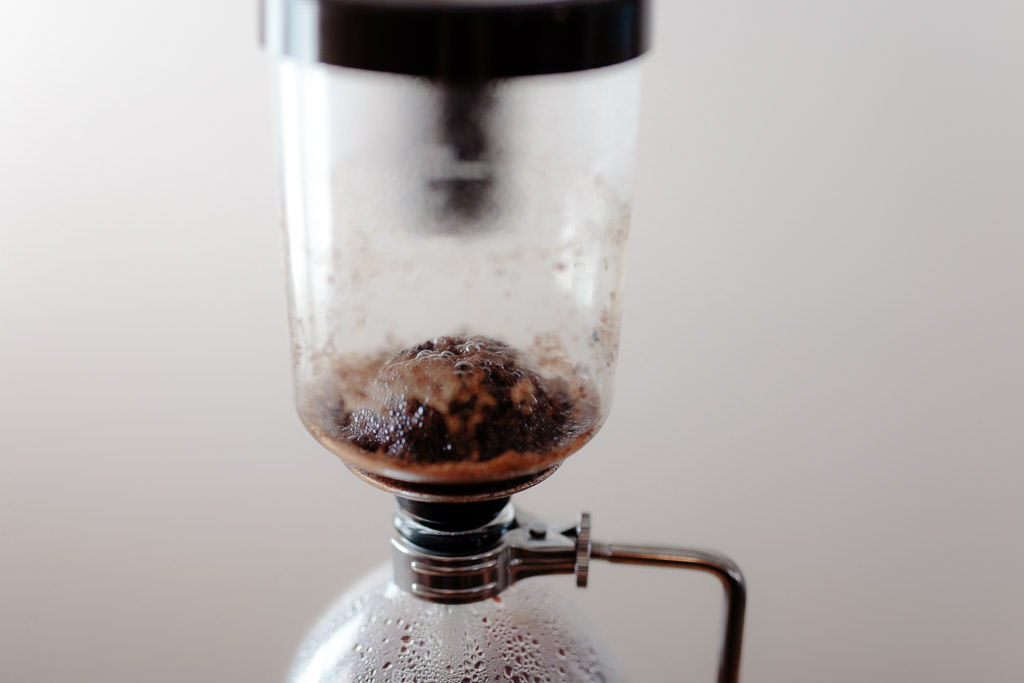
- The water will begin to boil and get pushed up into the upper vessel
- There will always be a little bit left in the bottom vessel
- Stir the water in the upper vessel to create a whirlpool, then begin a timer and add the coffee
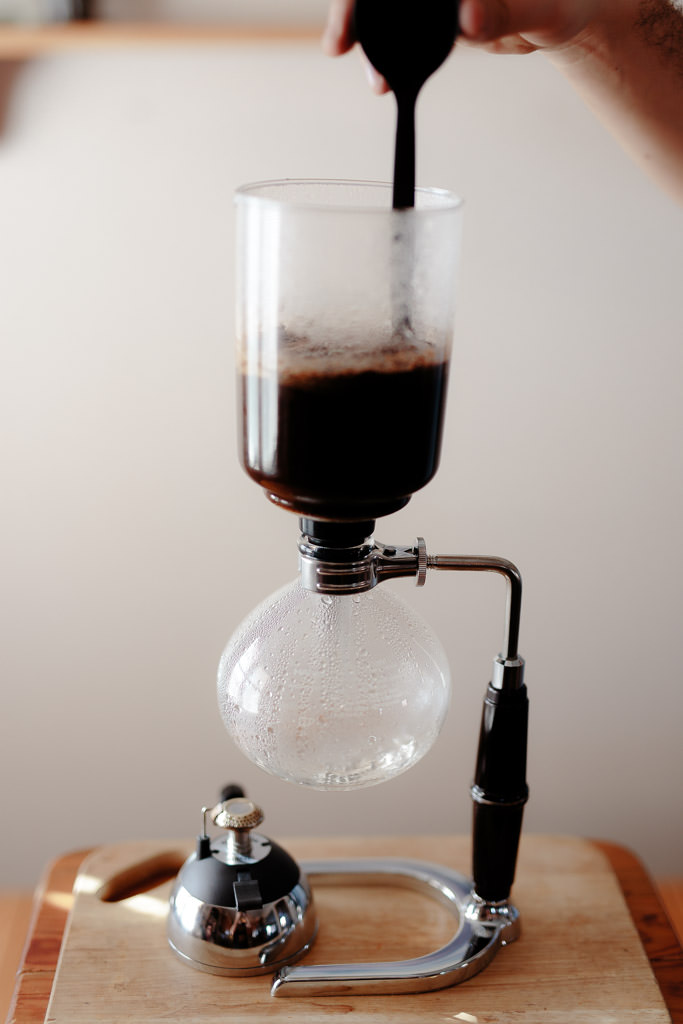
- Gently fold the coffee to ensure even saturation
- Let the coffee steep undisturbed for 1:30
- Remove the heat while your stir the slurry vigorously
- Wait for the coffee to draw into the lower vessel
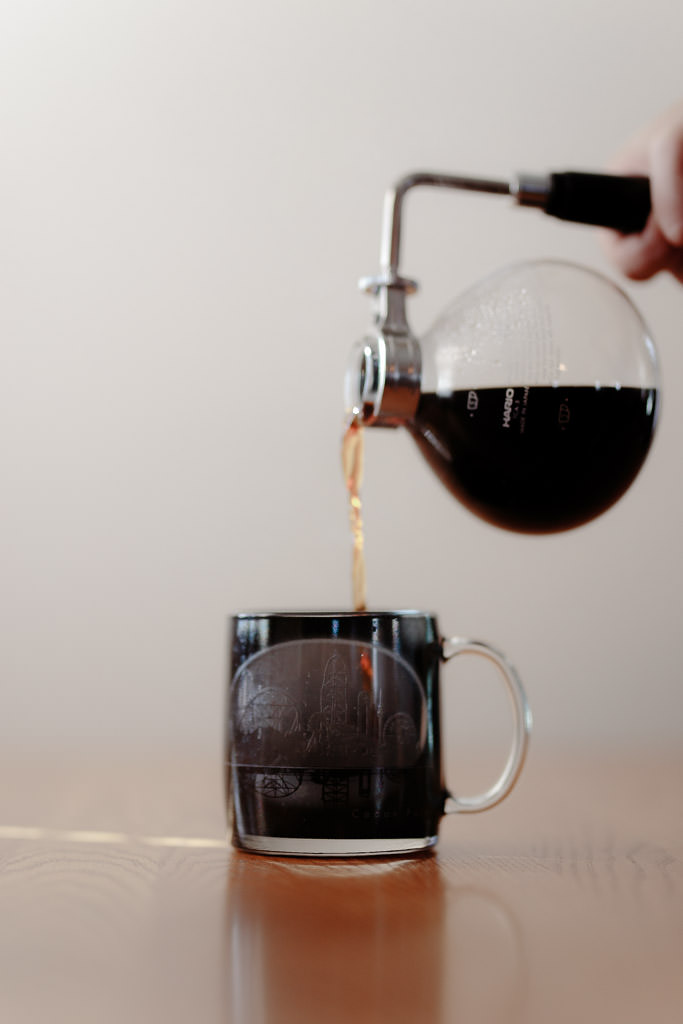
- Remove the top vessel
- Flip the lid upside and fit the siphon tube into the center column of the lid
- Serve into a warmed mug or carafe

Impressive, but not Practical
Admittedly, the siphon doesn’t make for a practically daily brewer thanks to the care and effort required. When you want to make a good impression and brew some visually appealing coffee though, look no further. Couple the impressive aesthetics with a wonderfully clean, tea-like cup of coffee and you’ve got yourself a real crowd pleaser. Bonus points if you wear a lab coat and safety goggles while brewing.
Thanks for reading! If you have any comments, questions, or ideas for future content either leave a comment below or shoot me an email!
As always, Keep Coffee Handsome
Get the Gear. Support the Blog.
This side-project provides supplemental income that basically just feeds my coffee habits, and in turn helps me provide even more quality coffee content. The using the links below don’t cost you anything extra, but they swing me a little commission from whatever you buy. Thanks for your support!