Minimal Coffee Recipes: Aeropress and French Press

Over the last couple of weeks, we've covered a couple of basic brew methods to build the foundation for this blog. In each of those methods, I use equipment that I've slowly accumulated over the past couple of years. I realize jumping in head first and purchasing all of the suggested equipment comes with a heft upfront cost. So I've decided to take a little scenic route detour and talk about minimal setups for the last couple of methods: Aeropress, French Press, and cold brew. So if you don't have a scale or a variable temperature controlled gooseneck kettle but you still want good coffee, don't worry, I'm here for you.
Consistency is King
Before we dive into the brew methods themselves, I want to take a minute to discuss the reasons why I recommend those devices. Good coffee typically boils down to a couple factors while brewing; proportions, temperature, and time. Speaking in basic terms, coffee is a solution of solvents from the roasted coffee beans dissolved into water. Each of those factors have a direct effect on amounts of solvents, and therefore the flavor, that make it into each cup. The more control you have over each of those factors, the easier it will be to consistently brew good coffee.
Proportions
The proportion factor refers specifically to the ratio of coffee to water (e.g. 1:16). Meaning, for ever 1 part of coffee, the recipe calls for 16 equal parts of water. This ratio ultimately affects the total amount of solvents that can be dissolved. The lower the ratio, the more solvents will be present, the stronger the flavor will be. For instance, I use the above ratio of 1:16 for my regular drip coffee. Espresso, on the other hand, uses a lower ratio, typically between 1:1-1:4, and has a much more pronounced flavor.
To precisely control for proportions, I recommend a scale. Volumetric measurements can get the job done, but can also vary between beans and grind sizes. If an inconsistent amount of beans or grounds fit in a scoop, the extraction will end up varying between brews. Weight, however, provides consistency for both the coffee and the water regardless of bean or grind size. That's why I recommend using a scale.
For the more budget friendly, try this scale. If you want the Cadillac of coffee scales, this is the one for you.
Temperature
As we discussed in the cold brew recipe post, the temperature of the water used while brewing affects the amount of solvents that dissolve. Many of the solvents in coffee dissolve better at temperatures between 195-205 degrees Fahrenheit. Coffee brewed under normal circumstances under those temperatures will under extract, resulting in a sour, underdeveloped flavor. The only exception to this rule is when pressure is applied during the brew process, like in an Aeropress.

You don't need a variable temperature gooseneck kettle to control for temperature, a simple thermometer works fine. You could also look into one these gooseneck kettles with a built in thermometer, or go big and get the variable temperature.
Time
The amount of time spent in the grounds ultimately affects how much the water is able to dissolve. While we can't always directly control the brew time, we can control it's effects using grind size. Many recipes call for a specific amount of time, like the french press, which typically calls for a 4 minute brew time. If you were to use too fine of a grind size, not only would more undissolved solvents pass through the filter, it would also result in an over extracted cup of coffee. Think about it this way: a finer grind breaks the coffee beans into smaller particles and the smaller the particles the more overall surface area of coffee the water contacts. The more surface area the water contacts, the more solvents it will dissolve.
To control for grind size, burr grinders are the way to go. You can snag a manual grinder like this one or go for an electric one like this.
Minimal Necessity
All that being said, I know what it's like to want good coffee without having to own a fleet of gear. Some situations restrict our ability to have all this gear with us in the first place, like traveling or camping. So today were tossing off the ideals of pretentious perfection and embracing an imperfect minimal setup.
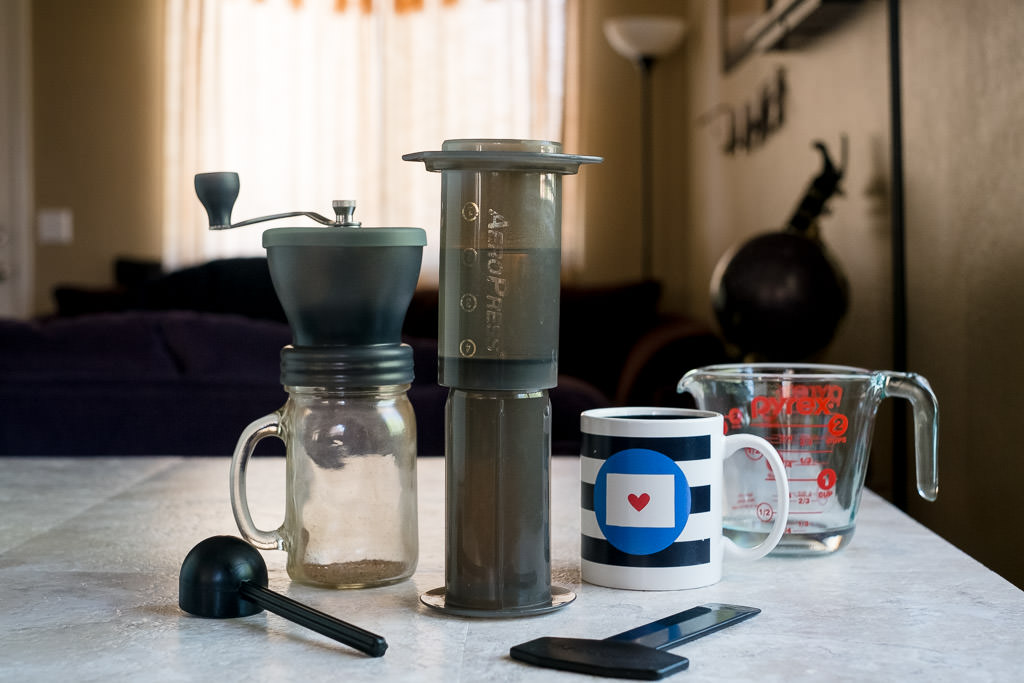
Aeropress: The Minimal Recipe
Tips
- Use the included Aeropress scoop for measurement
- The upside down method tends to be more consistent without a scale
- Put water in a glass container in the microwave for 2 minutes for a temperature of 200 degrees Fahrenheit
- Use the built in timer on your phone
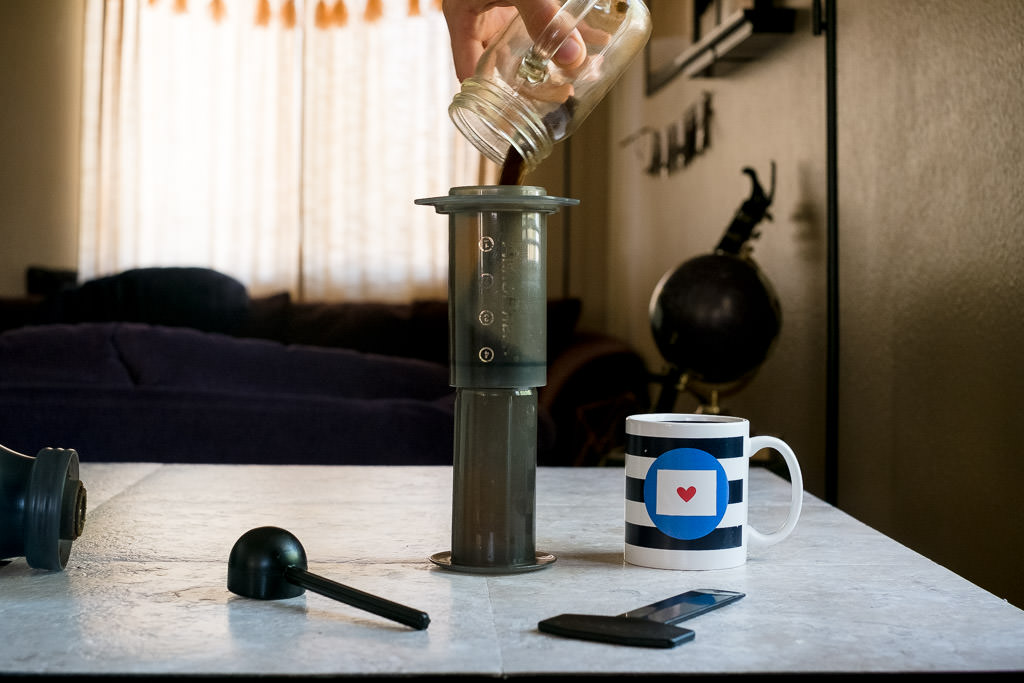
Upside Down
- Insert the plunger to the number 4 marked on the Aeropress
- Pre-heat the Aeropress, mug, and wet the filter
- Measure out 1 scoop of coffee into your grinder
- Boil your water. Let it cool for a minute before using, or use the microwave method
- Grind the coffee on a sand-like setting
- Add the coffee to the Aeropress and give it a shake to level the bed of grounds
- Start your time and add the water
- After 1 minute stir 4 times and put the lid on
- Steep for an additional 2 minutes
- At the 3 minute mark, invert the Aeropress onto the mug and press evenly until you hear a slight hiss
- If your grind size is correct, it should take 20-30 seconds to press
If you're ready to take a stab at the precision recipe for the Aeropress, check this post out.

French Press: The Minimal Recipe
For speed, I recommend using the microwave method of heating your water. Keep in mind, distilled water can be volatile when microwaved to boil. Tap and carbon-filtered water should have this issue but if you'd like to take a precautionary steep just in case, place a wooden spoon or wooden chopstick in the water while it's heating.
- For every 1 tbsp of coffee use 1/2 a cup of water. To make an 8oz cup of coffee use 3 tbsp and 1 1/2 cups of water
- Make sure the filter screen on your French press is clean
- Boil your water, make sure to add extra for pre-heating
- Pre-heat the French press and your mug, or whatever decanter you will be using
- Grind the coffee on a coarse setting
- Add ground coffee to the French press and give it a shake to level off the bed of grounds
- Begin timer and add water to the French press
- At 1 minute, stir with a wooden spoon until a slurry (light brown bubbly surface) is developed
- Put the lid on without plunging
- Steep for an additional 3 minutes
- At the 4 minute mark, plunge carefully
- When the plunger has reached the bottom, serve immediately or move to a decanter
- If left in the French press the coffee will continue to extract and will result in a densely bitter brew if left too long
If you're ready for a precise French press, this post will tell you all you need to know.

Forgiving Methods
For now, I'll leave it with just those two brew methods. Both methods have a more forgiving method of extraction allowing for a more practical method like these. If you're looking to simply make a good cup of coffee for yourself in the morning, I would tell you to look no further than the Aeropress. It's consistent, easy to use, and thanks to the use of pressure, is far more forgiving in the temperature department. If making coffee for multiple people is more your jam then I would recommend going with the French press.
I really want this blog to be accessible to those who are just want to make a better cup of coffee at home, so if anything in this post is confusing to you, please feel free to reach out! Drop a line in the comments, hit up the contact page, or find me on any of my social media platforms.
As always, thanks for reading!
Stay handsome.